

I’m not sure when it happened, but sometime over the past year or so pretzel buns have become insanely popular on burgers. The first pretzel bun that I can vividly remember was on a Corner Bakery ham sandwich at work. I didn’t realize that it was a pretzel bun until after my first bite and then I had a revelation of what a sandwich could truly be. The saltiness of the crust combining with the buttery chewiness of the interior took that sandwich to another level of deliciousness. After that I began to see pretzel buns everywhere: Kuma’s, Hannah’s Bretzel, etc. At this point I knew I had to take a crack at making these savory buns.
I decided to start my quest by making taking a basic pretzel recipe and making rolls from them. As far as research goes the rolls were delicious, but without some kind of baseline it was hard to know which adjustments to make. That's when I decided to make traditional pretzels for our annual Christmas party.
The recipe itself comes from Alton Brown and Good Eats. It's a straightforward dough that comes together quickly, providing a great starting point for customizations.
The Dough
You want a slightly sticky dough that pulls away from the bowl and has a matte finish. Slightly sticky so that it has some elasticity to it when you start rolling. Too dry and the dough will break when you start to stretch it. If it doesn't pull away from the bowl then it's too wet and you won't be able to roll it at all, it'll just smear across your counter. What I figure the matte finish is for is to gauge the butter content in the dough. Too little and the dough will have a dusty appearance, too much and it will have a glossy shine.
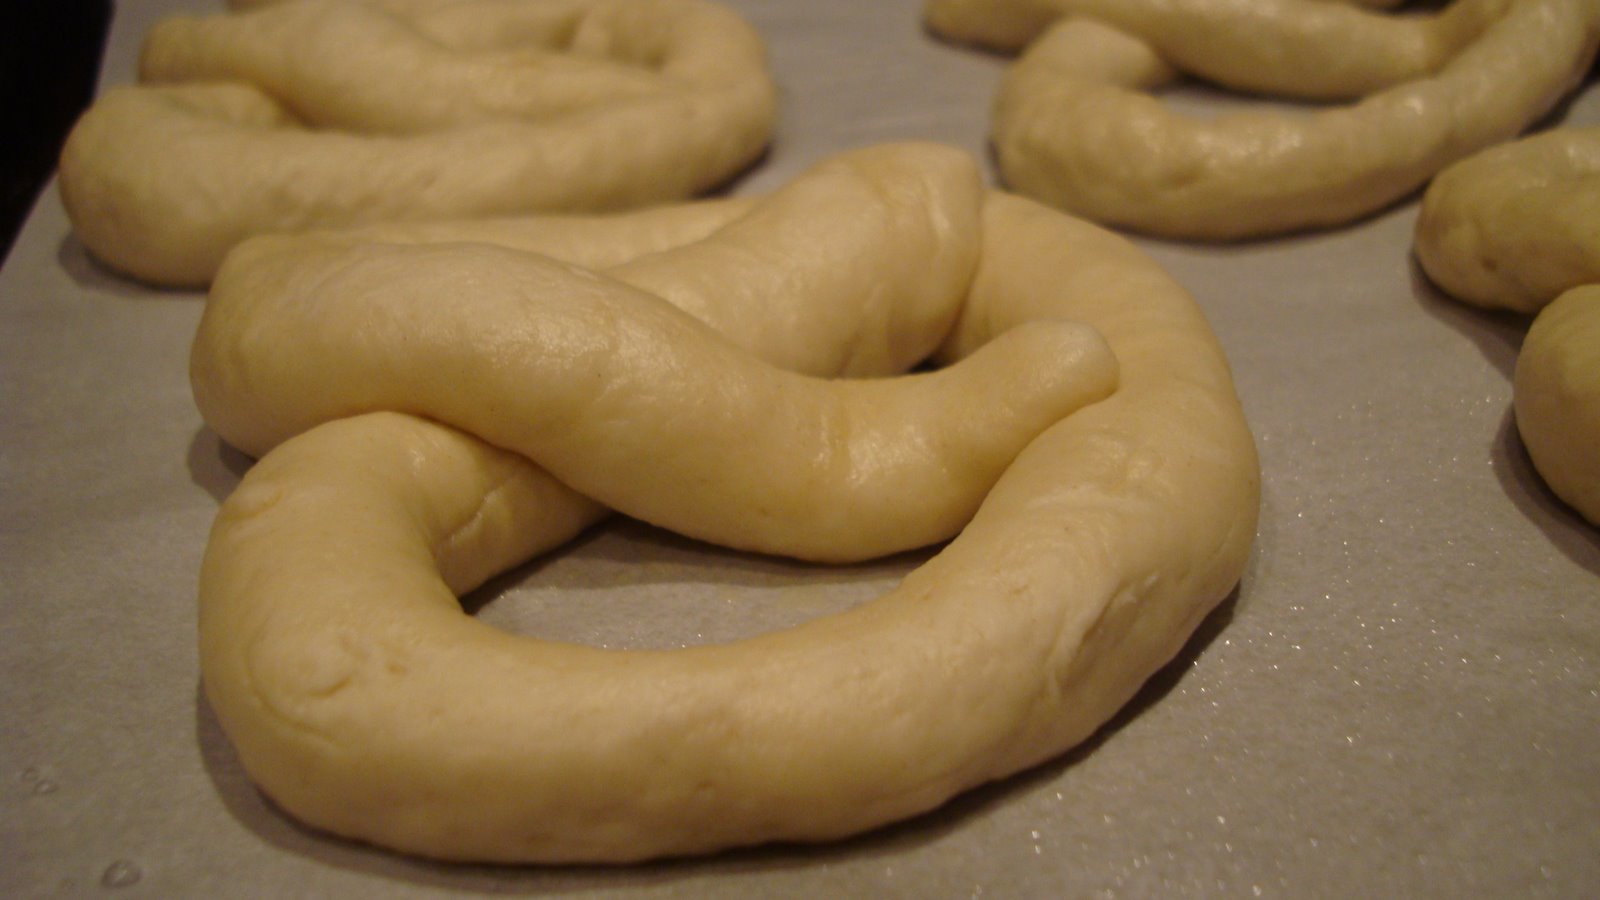
The Rolling
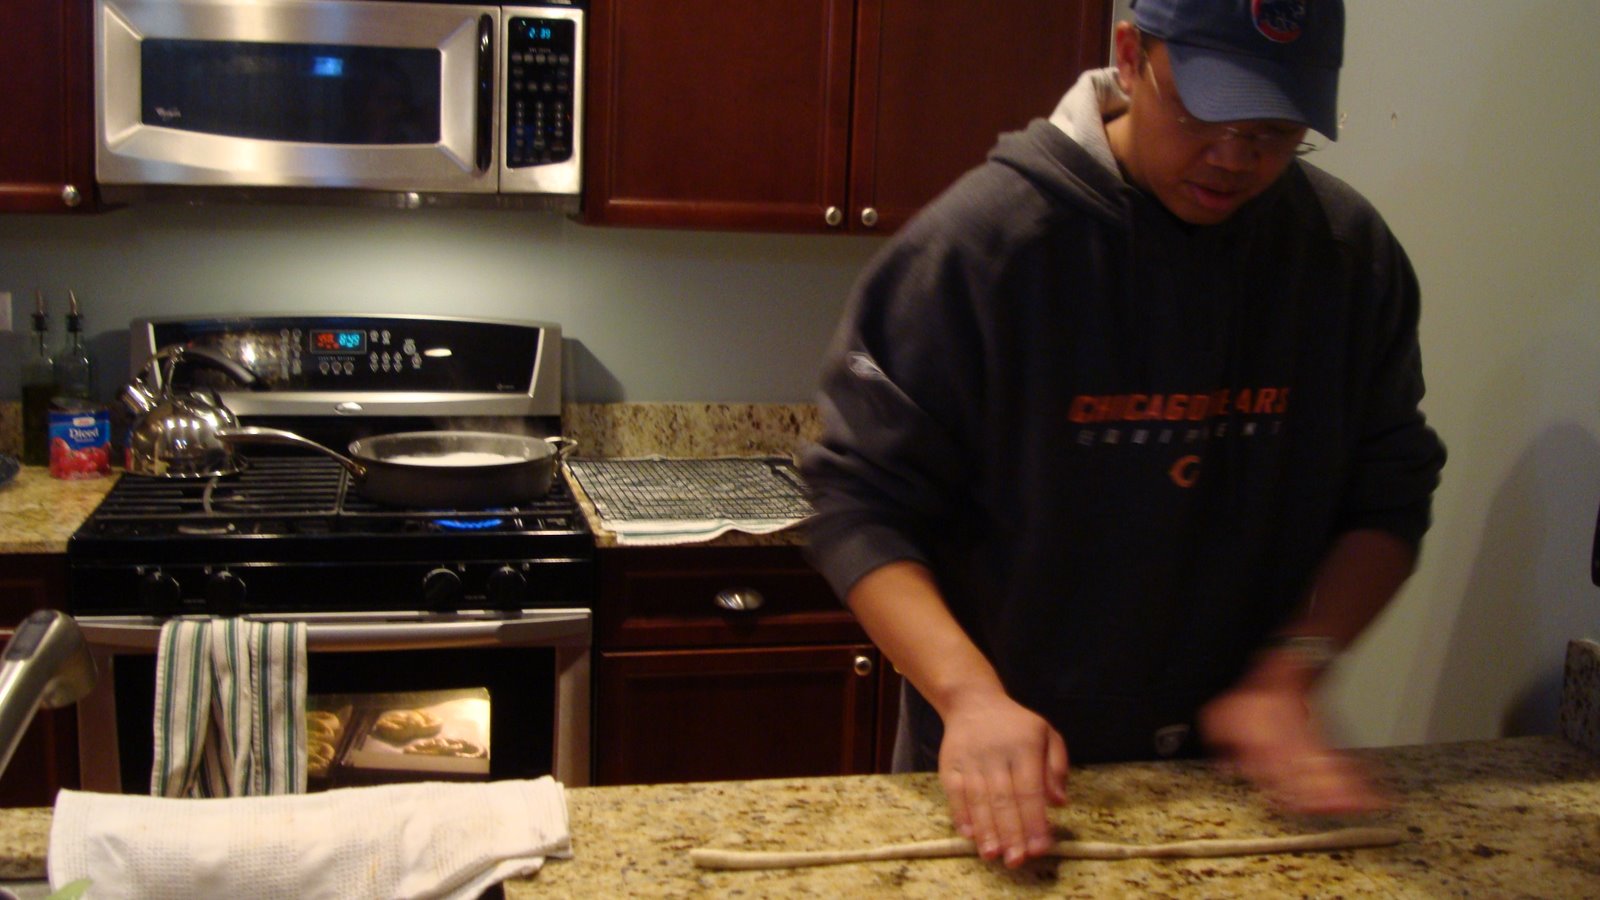
After giving the dough time to rise we portioned it into three oz. balls and began rolling them into long strands suitable for twisting. One thing I have to recommend is that you don't flour your surface, you need the dough to grip the surface a bit, and flouring the surface just makes it way too slick. I ended up oiling the surface a little and that worked out perfectly.
The actual rolling part came together after a few tries. Once I realized that I shouldn't try to lengthen the dough by stretching alone the results improved. Here's what I learned:
- It's probably half applying pressure and half stretching to get the dough to the right length.
- Make sure that your hands are rolling in a synchronized way otherwise you'll get a pinch in the dough and that's where your break will occur.
- Moving my hands towards the center and back out during a roll seemed to help keep the dough even.
- You know you have good dough and are doing a good job when your dough is almost rolled out, your hands are at the ends and as you are rolling the middle of the dough is still rolling around with you.
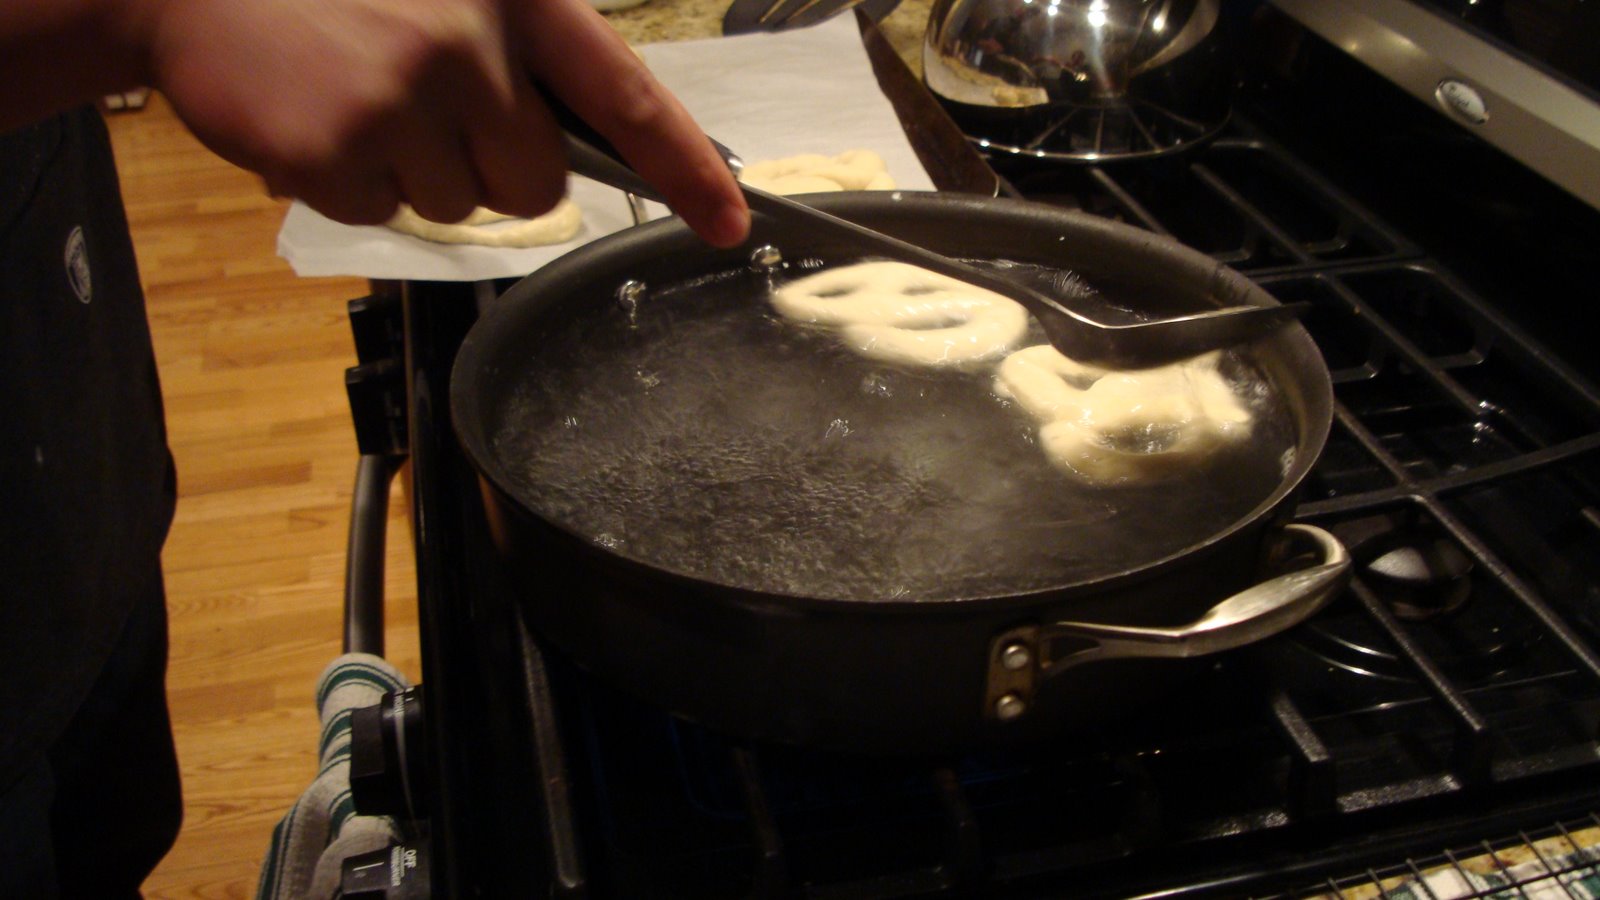
Just like Alton says, 30 seconds in the bath is more than enough. Any longer than that and you get a strong alkaline taste to the pretzel. Unless you are going to turn over the pretzels half way through, be sure to spoon some of the liquid onto the top. When the pretzels come out they are going to be slightly puffier and have a slick, almost slimy, outer shell (can a shell be slimy?). Do your best to let the liquid drain off before applying the egg wash, this will help reduce any alkaline taste.
Salt
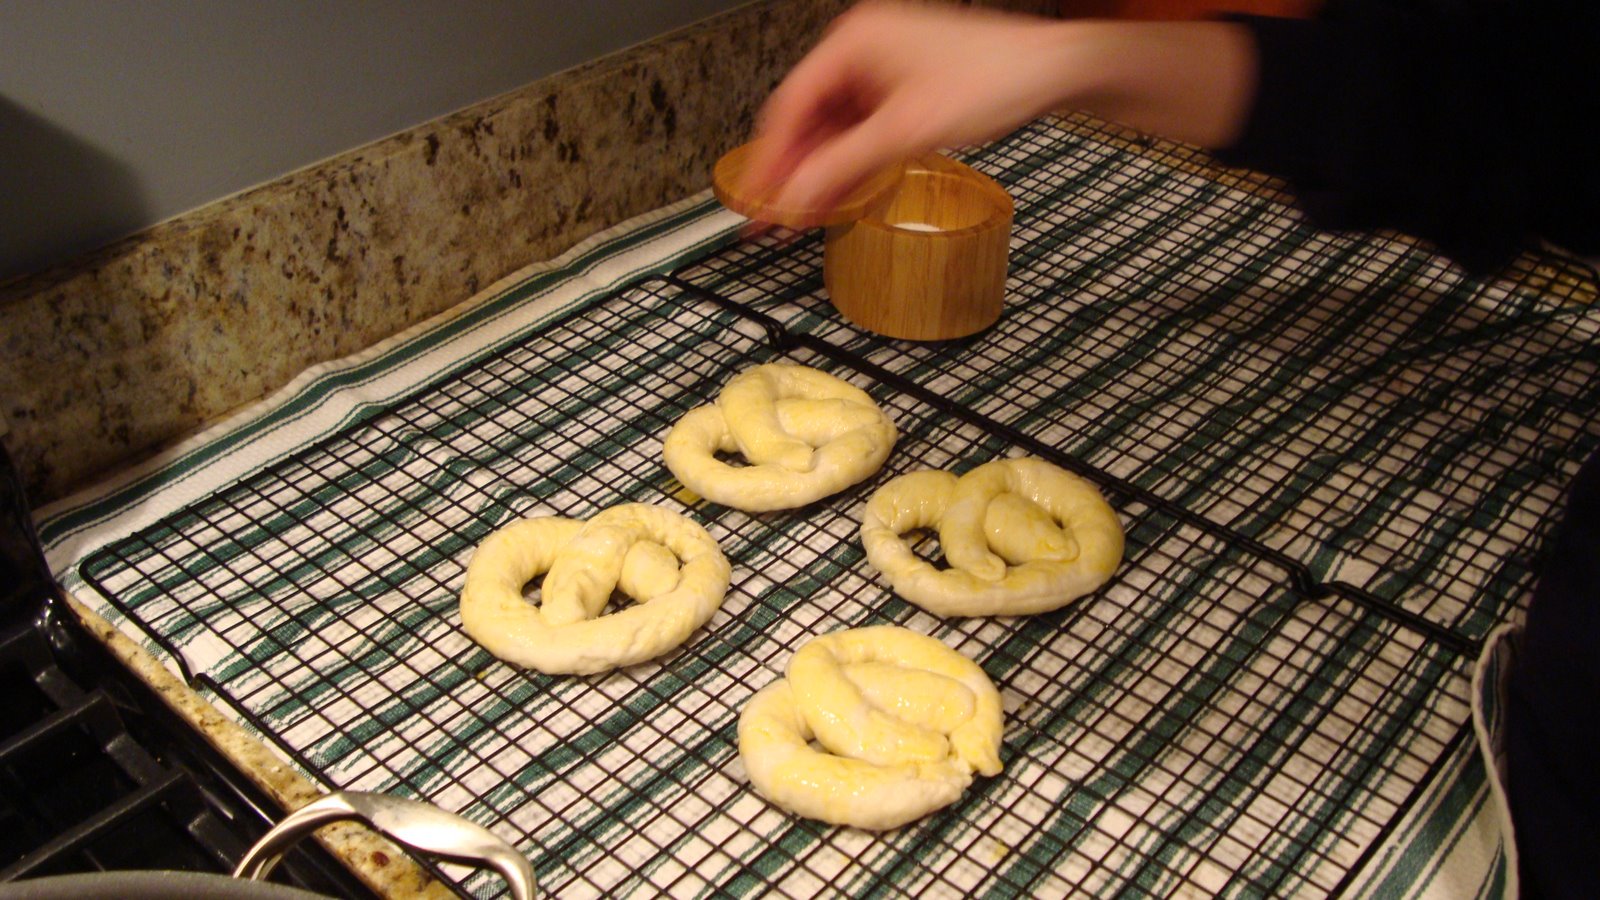
It was impossible to find anywhere in Chicago that sold pretzel salt. There were plenty of online purveyors but since we didn't decide to do pretzels until a day or two before the TBOC party that wasn't an option. Using a coarse kosher salt though worked in a pinch. Just be sure not to crush it between your fingers while sprinkling it on the pretzels, you want as large a flake as possible.
The Results
The final product was delicious and our guests loved them. We started to run out of time towards then end of our pre-party prep so we decided to forgo full twist pretzel and went for pretzel bites instead. These one ounce portions helped me to refine my ideas for my pretzel buns...but that's another entry.
Good Eats Homemade Soft Pretzels
* 1 1/2 cups warm (110 to 115 degrees F) water
* 1 tablespoon sugar
* 2 teaspoons kosher salt
* 1 package active dry yeast
* 22 ounces all-purpose flour, approximately 4 1/2 cups
* 2 ounces unsalted butter, melted
* Vegetable oil, for pan
* 10 cups water
* 2/3 cup baking soda
* 1 large egg yolk beaten with 1 tablespoon water
* Pretzel salt
Directions
Combine the water, sugar and kosher salt in the bowl of a stand mixer and sprinkle the yeast on top. Allow to sit for 5 minutes or until the mixture begins to foam. Add the flour and butter and, using the dough hook attachment, mix on low speed until well combined. Change to medium speed and knead until the dough is smooth and pulls away from the side of the bowl, approximately 4 to 5 minutes. Remove the dough from the bowl, clean the bowl and then oil it well with vegetable oil. Return the dough to the bowl, cover with plastic wrap and sit in a warm place for approximately 50 to 55 minutes or until the dough has doubled in size.
Preheat the oven to 450 degrees F. Line 2 half-sheet pans with parchment paper and lightly brush with the vegetable oil. Set aside.
Bring the 10 cups of water and the baking soda to a rolling boil in an 8-quart saucepan or roasting pan.
In the meantime, turn the dough out onto a slightly oiled work surface and divide into 8 equal pieces. Roll out each piece of dough into a 24-inch rope. Make a U-shape with the rope, holding the ends of the rope, cross them over each other and press onto the bottom of the U in order to form the shape of a pretzel. Place onto the parchment-lined half sheet pan.
Place the pretzels into the boiling water, 1 by 1, for 30 seconds. Remove them from the water using a large flat spatula. Return to the half sheet pan, brush the top of each pretzel with the beaten egg yolk and water mixture and sprinkle with the pretzel salt. Bake until dark golden brown in color, approximately 12 to 14 minutes. Transfer to a cooling rack for at least 5 minutes before serving.

No comments:
Post a Comment